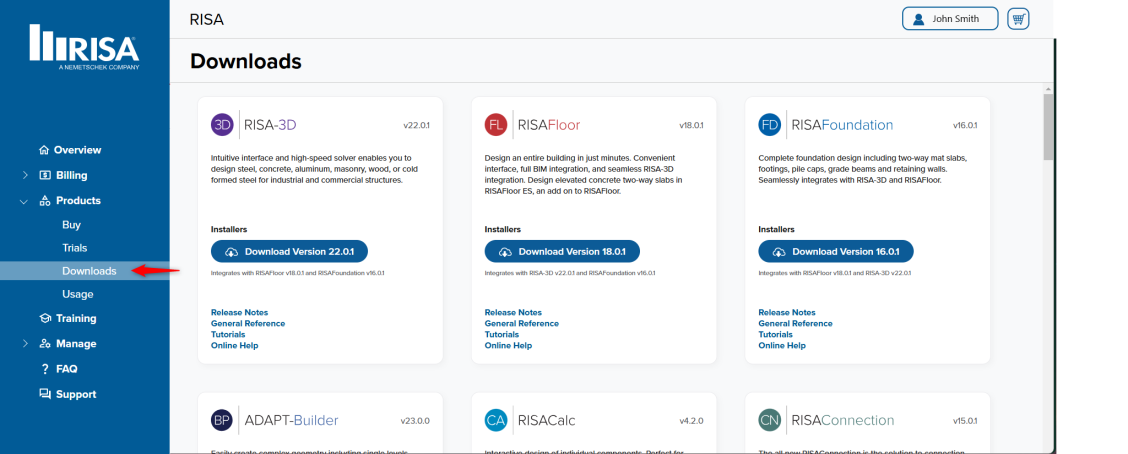
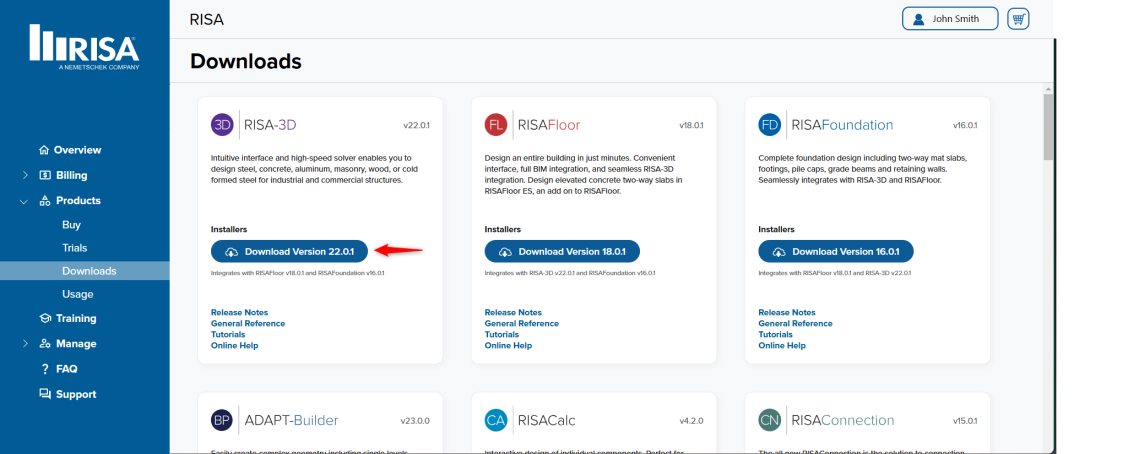
You may download the installation packages for the latest versions of your RISA software on the Products>>Downloads page of the RISA Customer Portal.
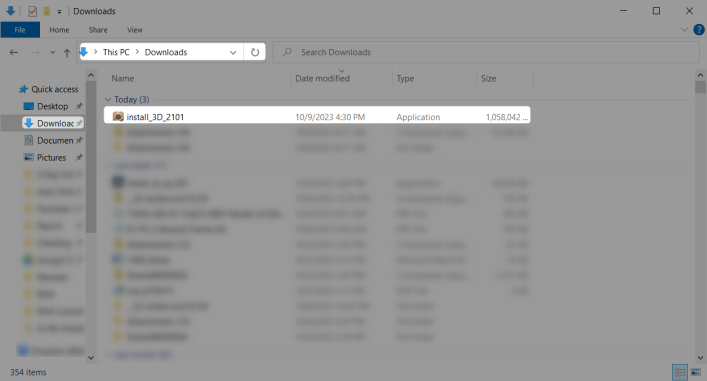
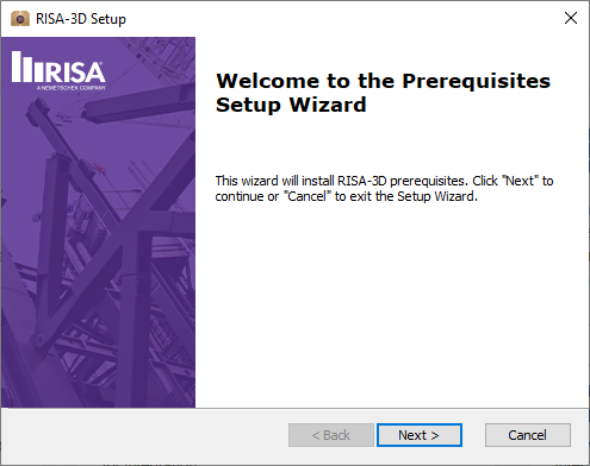
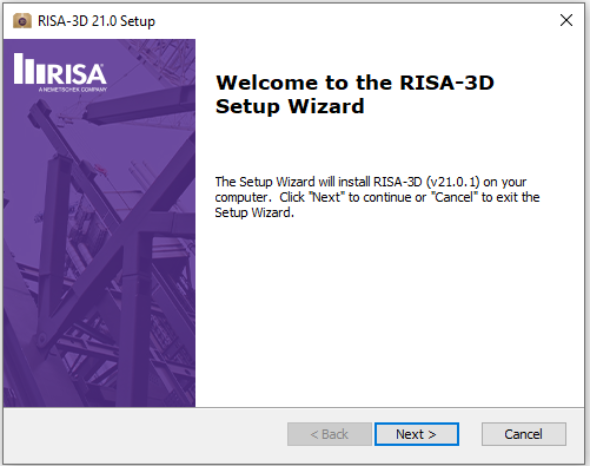
Below are the step-by-step instructions for each step of the install.
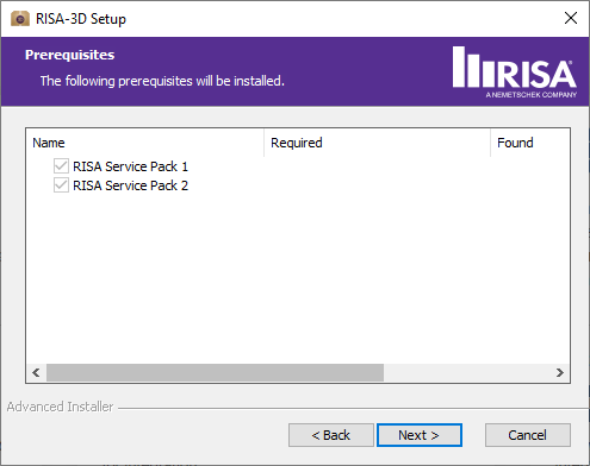
Note: You must be an Administrator on the machine in order to run this install.


The Check for Updates feature will compare the installed version on your computer to the most current update listed on our RISA website. If it finds a newer version, it will offer you the option to close the program and open your internet browser to the RISA Customer Portal Downloads page where you can download the newest version's installer.
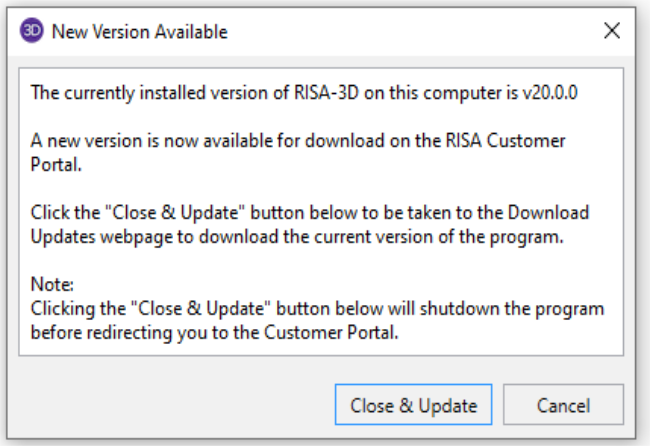
You can also access this feature by going to Help >> Check for Updates to manually run this feature from within your program.
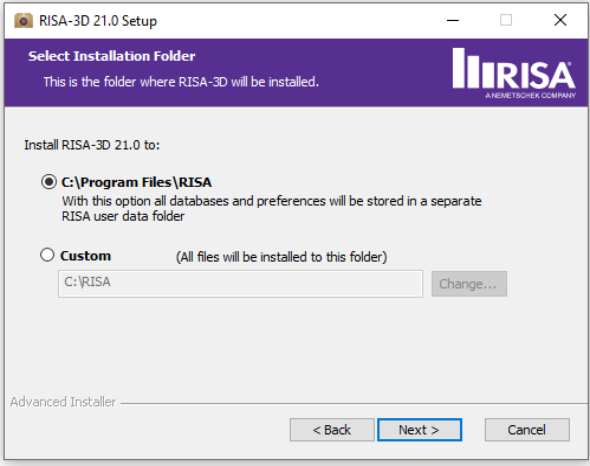
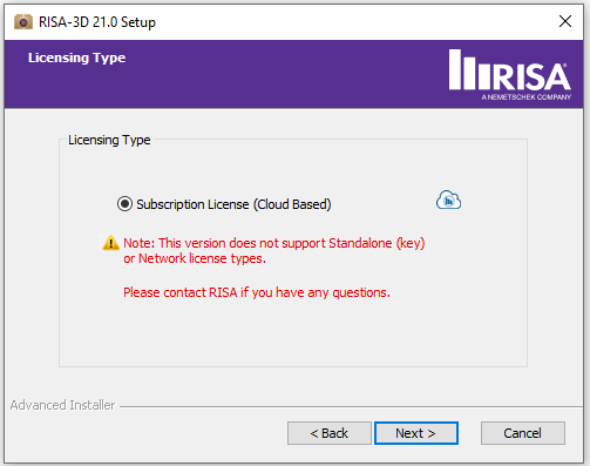
In general, most users will want to use the default installation options. However, each option is described below for the more advanced users:
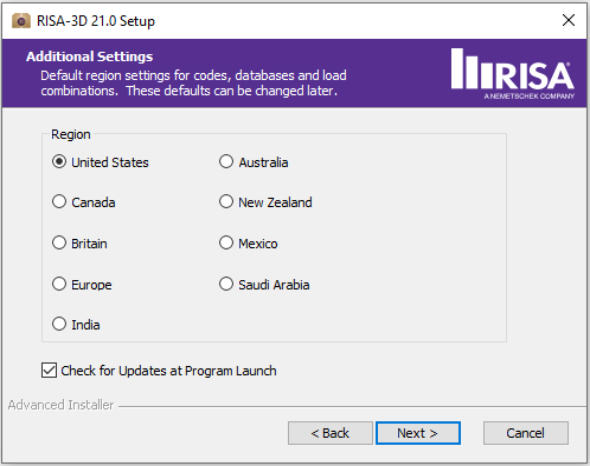
This setting controls what default design codes, shape databases, and load combinations show up in the program.
This setting controls what folder your program files are installed into. When installing into Program Files a folder is created under the C:\RISA User Data folder which contains all of the databases, preferences, and editable files. The only files which get placed into the Program Files folder are files that the user never needs to directly interact with. Alternatively, all RISA related files may be installed to a single folder (such as C:\RISA).
Note: If there are uncommon settings on your machine (Documents on the E: drive rather than the default C: for example) then the installer may force you to choose a Custom location.